
To begin, several months ago I was craving a Southern Pacific SD45T-2. Fortunately, Athearn produces this locomotive (click word for link) in several road names and numbers and they are really beautiful. The best details are the L-windows on the SP/SSW units and the walkways have treads! Adding aftermarket treading gets pricey and I am not very good at it. Being such iconic locomotives, and with my love of the SP, I decided I wanted one but only if I could pay less than $80 for one. I eventually got a Cotton Belt version through HO Interchange. This loco is just like the SP bloody nose scheme, except with the Cotton Belt roadname. For only $70 it seemed like a good way to get a cheap loco and it could be perfect with a quick paint job. It arrived a short time later and I set to work deciding the best way to paint over the lettering. I checked everywhere online and all of the advice I found was to remove the lettering instead of painting over it. This ensured that the paint would stay even and that there would be a good surface to apply the new decals. And after seeing the results, I have to agree. Here is what I did.
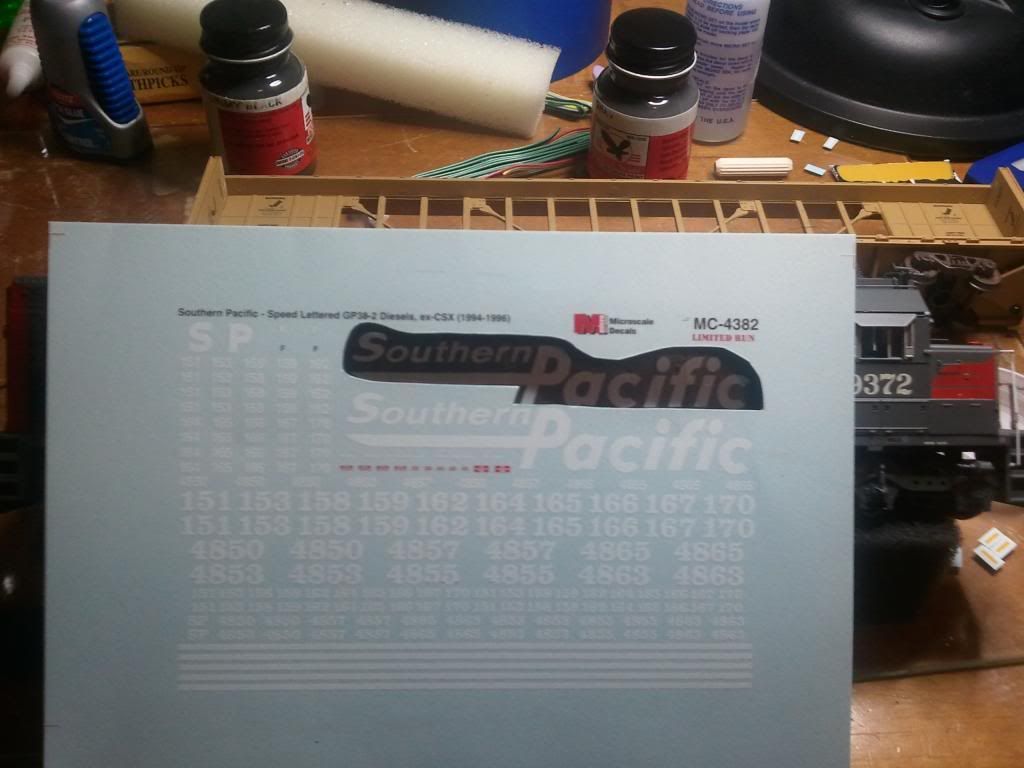
To begin, you order a set of decals. Microscale is the standard for quality decals so I found a set with Southern Pacific speed lettering. I used the set for the GP38-2 since it was hard to find one for tunnel motors. The next step was to remove the current lettering. I followed the simplest procedure I could find that had consistent results: pencil erasers. Yes, of all things, pink pencil erasers! There happened to be a lot of old No. 2 pencils sitting in one of my drawers so I grabbed 'em up and started using them. You use them by rubbing them against the lettering to be removed like you are trying to, well, erase it. What I found to work best was to focus on the lettering and use small, short strokes with a slight bit of pressure. If I pushed too hard or used long strokes that it began to remove the factory paint, and in one spot a bit of door detail. So use plenty of patience. **At your own risk, I have heard some use a small bit of 91% iso. alc. to aid in the process. I did NOT do this!**
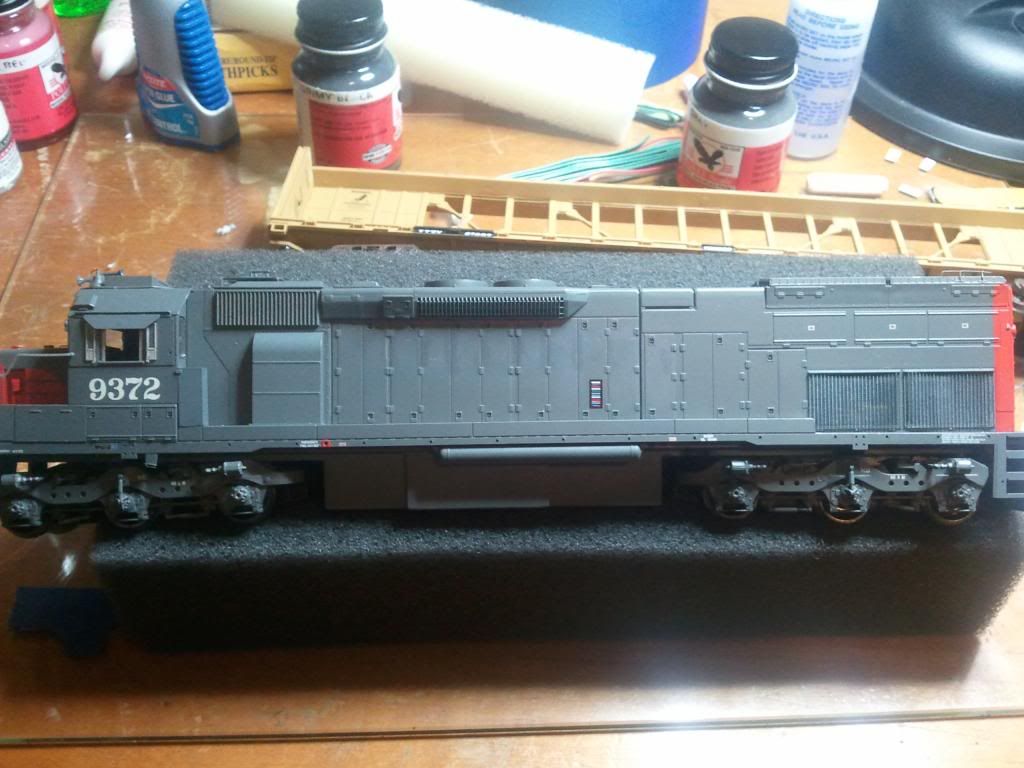
All of the lettering came off after about 15 minutes per side. I had to do a little touch up with Pollyscale SP colors. I can pick out those spots in the above picture but they almost disappear once the new decals are on.
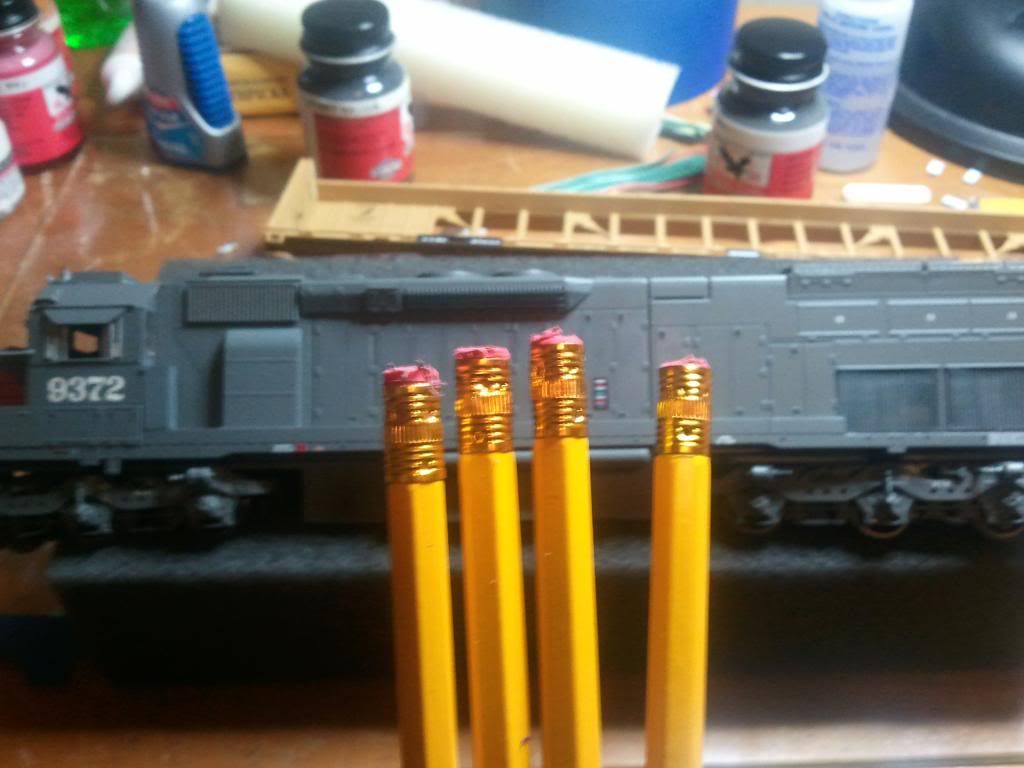
These are all cell-phone pictures so I apologize for the bad focus. These are the four pencils I used. As a warning, be careful of the metal eraser holder. That can really scratch up a model if it scrapes it!
Next I went through the typical procedure for applying a decal.
I think it turned out rather well.

So if you are looking for a simple, easy way to change to road names without going through the whole process of stripping and re-painting a loco, then this is the way to. As with most things, it is scary to begin but is much simpler than you realize. Do not be afraid, just take your time and it will turn out the way you want.
Comments and thoughts are always appreciated! See y'all next time